How to set bleed in InDesign
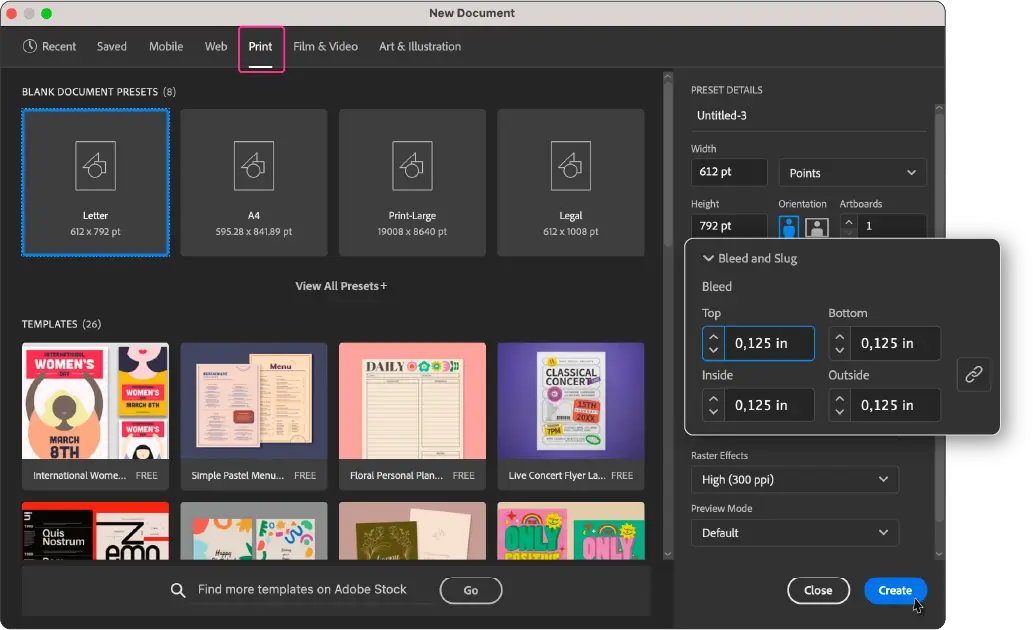
If you know you want a document full bleed ahead of time, you can set this when you first create the file in InDesign. When you first create your document, select the Print option and select your paper size. It’s under Print, then Preset Details, and near the bottom of the options are “Bleed and Slug“. Simply set the top, bottom, left and right fields to include a 0.125 (⅛ inch) bleed.
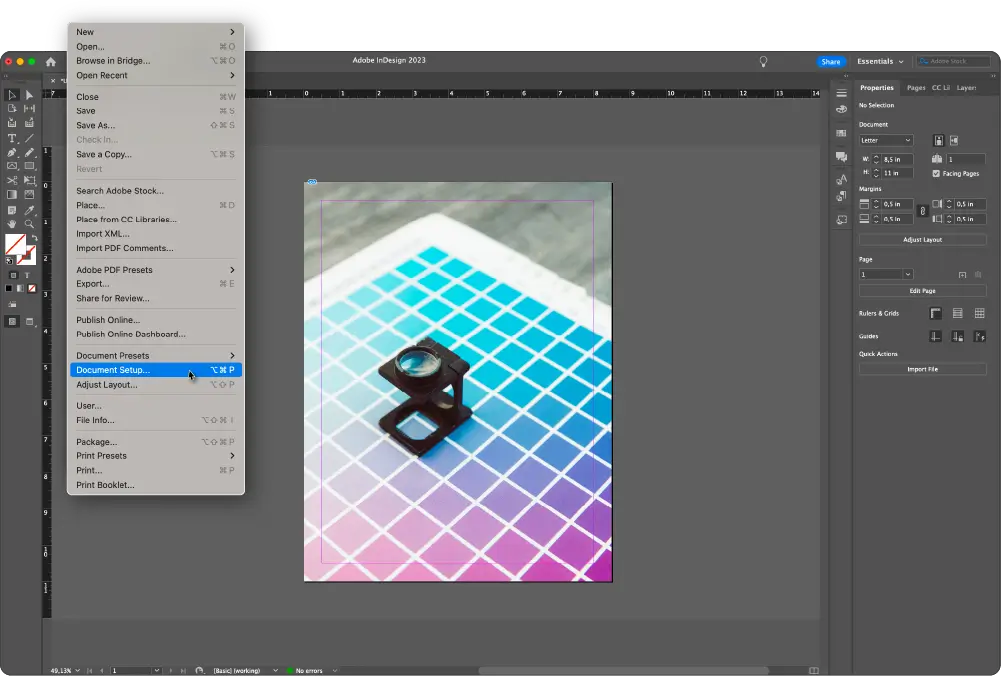
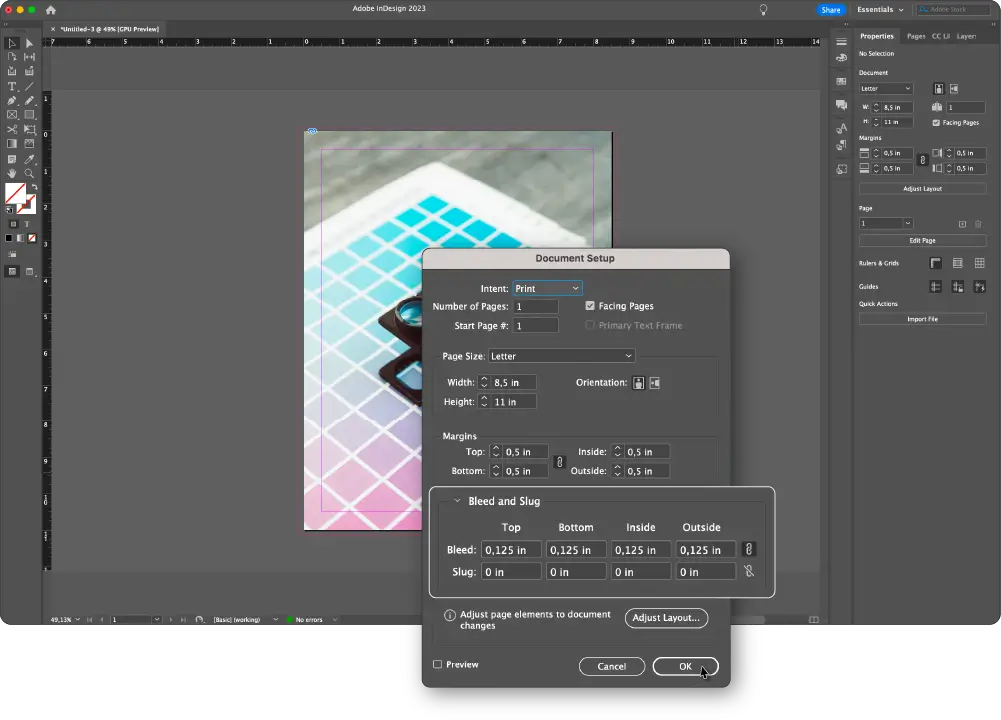
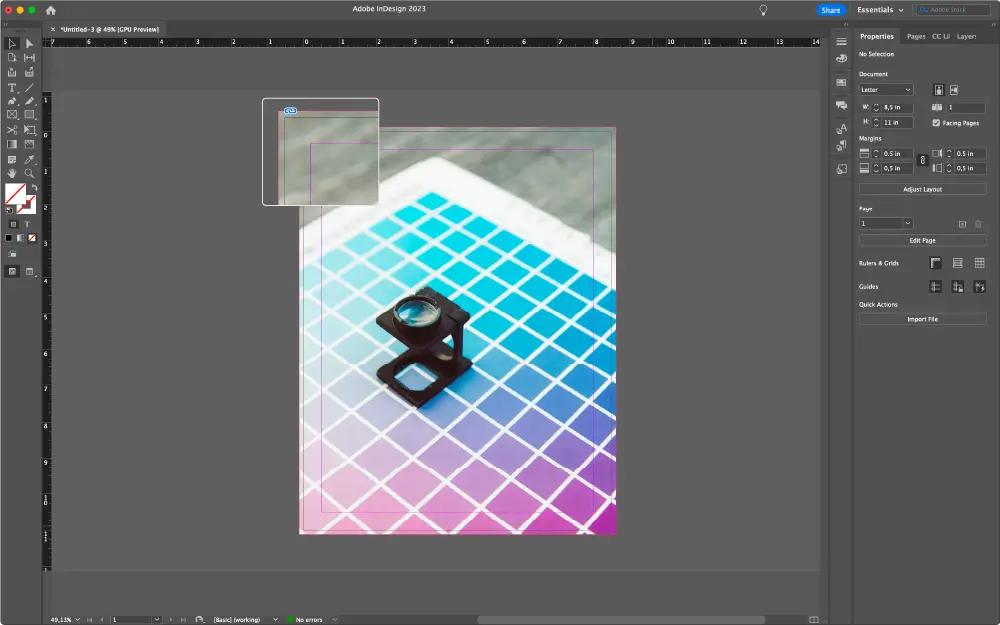
If your document is already set up and you want to add bleed after the fact, just go to File > Document Setup. Set the top, bottom, left and right fields to include a 0.125 (⅛ inch) bleed under the Bleed and Slug options:
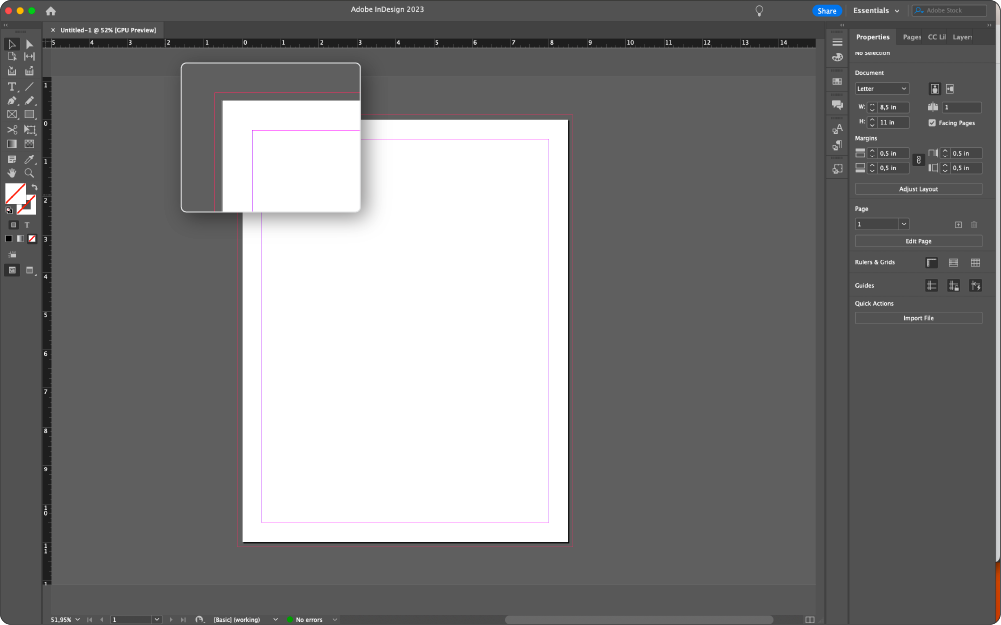
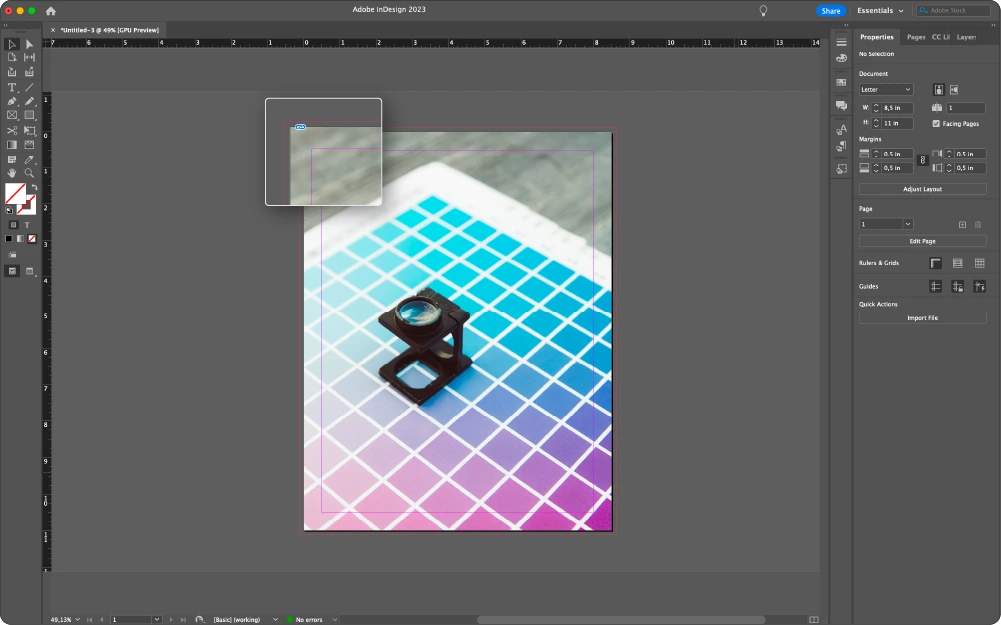
Now we’ve created bleed guides on your document, so a red line should appear on the canvas ⅛ of an inch off the side of your document. If you don’t see this, press W on your keyboard to reveal your guides. You should see a trim line in black, which will be the edge of your finished document. Beyond the trim line, your bleed guides will be shown in red.
Simply setting bleed in your document settings often isn’t enough. In order to get our document to print correctly, we may need to make some changes to the file. Lots of designers set bleed, but then forget to extend their artwork past the trim line to the bleed guide. Before sending it to the printer, be sure that the artwork you want full bleed is aligned to those bleed guides outside the trim. Your photos, artwork and background colors all need to extend to the bleed line. With InDesign, the image or object should snap right to the guidelines when pulled to them.
Below is a visual to help. This is an example of a document that has incorrectly set bleed. Since the photo doesn’t extend past the trim line, the finished product may have white space around the outside edges of the photo.
Below is an example of how that same photo should look. To ensure the photo prints all the way out to the edge of the document, just make sure it extends out to the bleed lines. It’s also important to make sure any important artwork stays inside of the trim line, as anything between the trim and bleed lines will be cut off during printing.
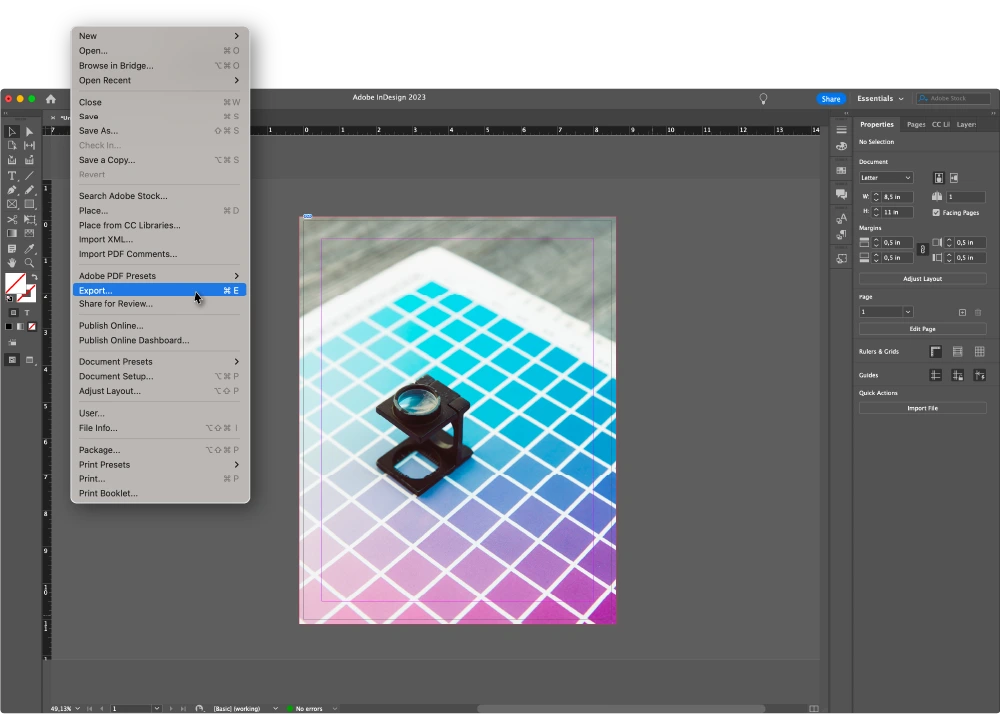
After you’ve gone through your document to ensure that all artwork, background colors and photos extend to the red bleed line, you’re ready to export your file for print. Be sure the right options are chosen when you export your file as a PDF to the printer.
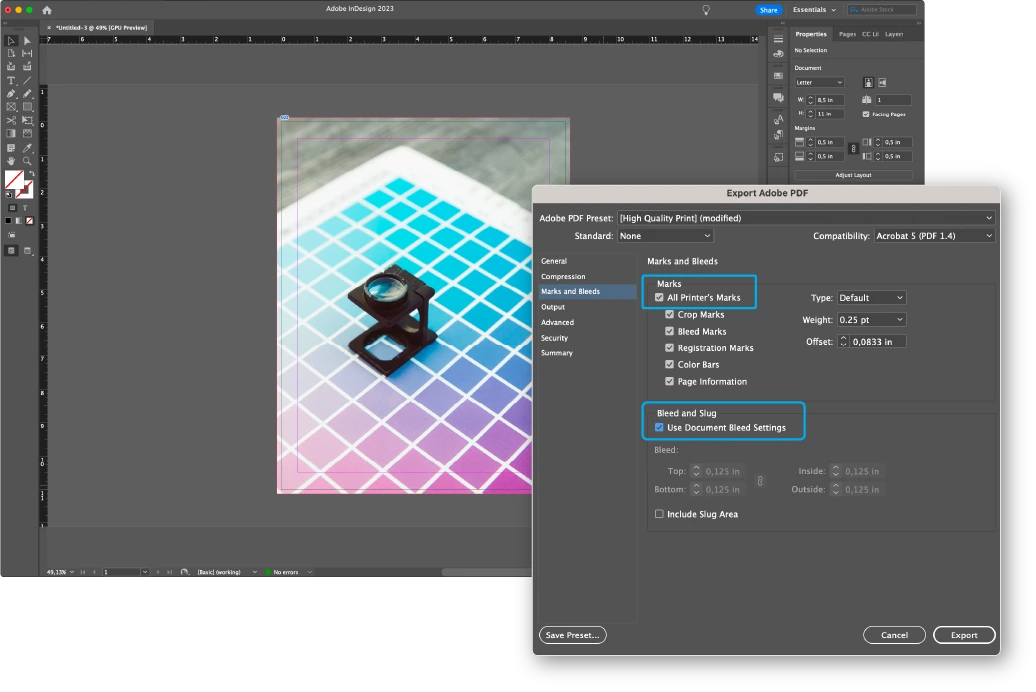
During the export, check the box that says “All Printer’s Marks” to ensure that all of the information the printer needs will be included in your exported file. Under Bleed and Slug, check “Use Document Bleed Settings” to carry your bleed settings through into the exported PDF. This should ensure everything appears just as you want it to on the page. Make sure that the offset area is greater than or equal to the bleed, otherwise your crop marks might show on your final document.
How to Set Bleed in Illustrator
For a new document, you will follow these steps to add full bleed:
1. Open Illustrator and create a new document. Go to File > New.
2. Choose the document size, measurement (pixels, inches or millimeters), and input the bleed value. Generally, you should choose ⅛” or 3mm.
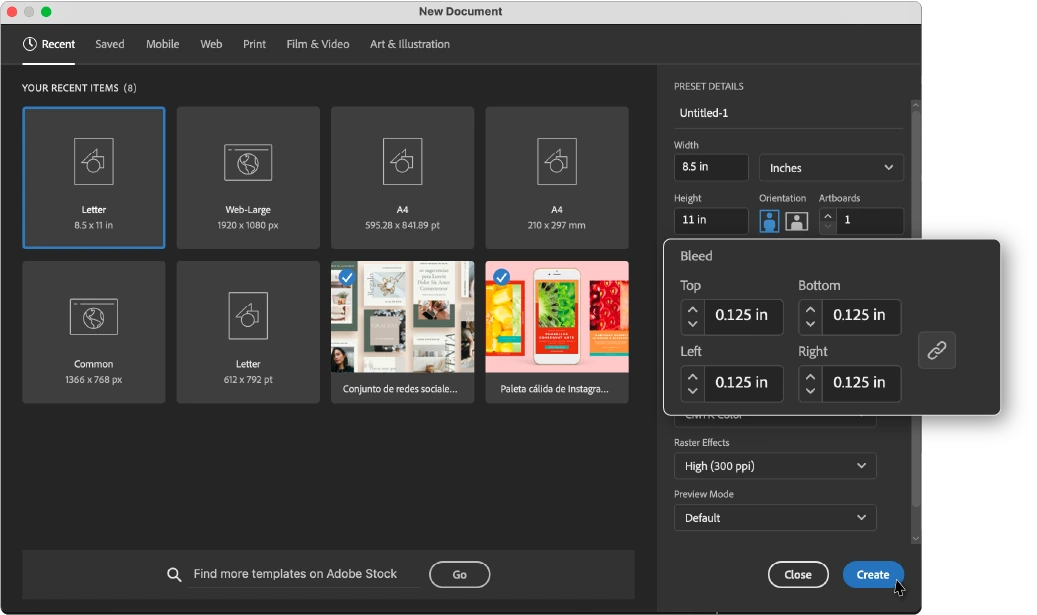
3. If you have the link icon selected, you only need the one value. Or if you want to include different bleeds for all sides, click unlink to input the values individually.
4. Click Create and you will have your new document with full bleeds.
For an existing document, you can add bleed by following these instructions:
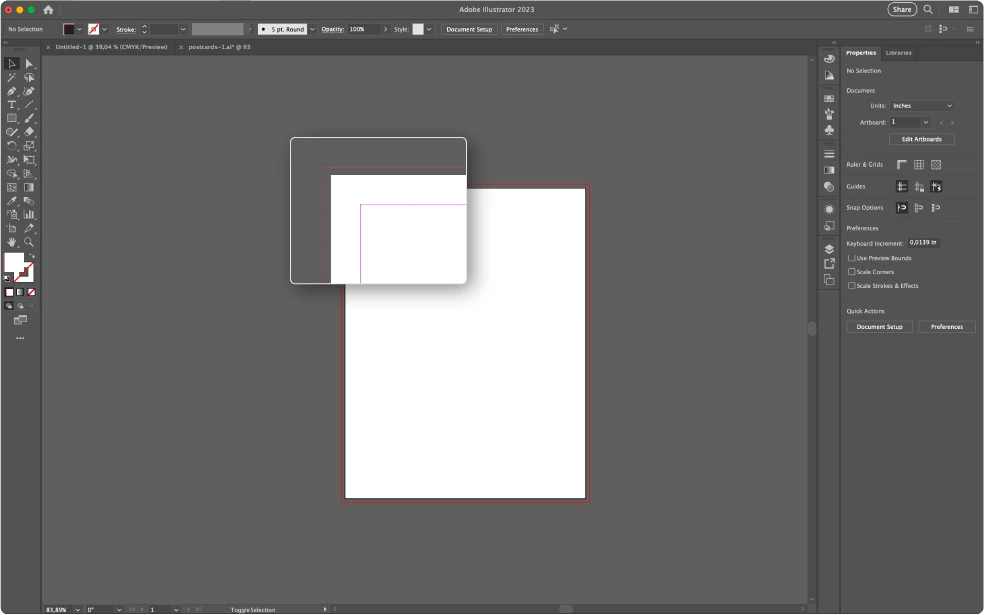
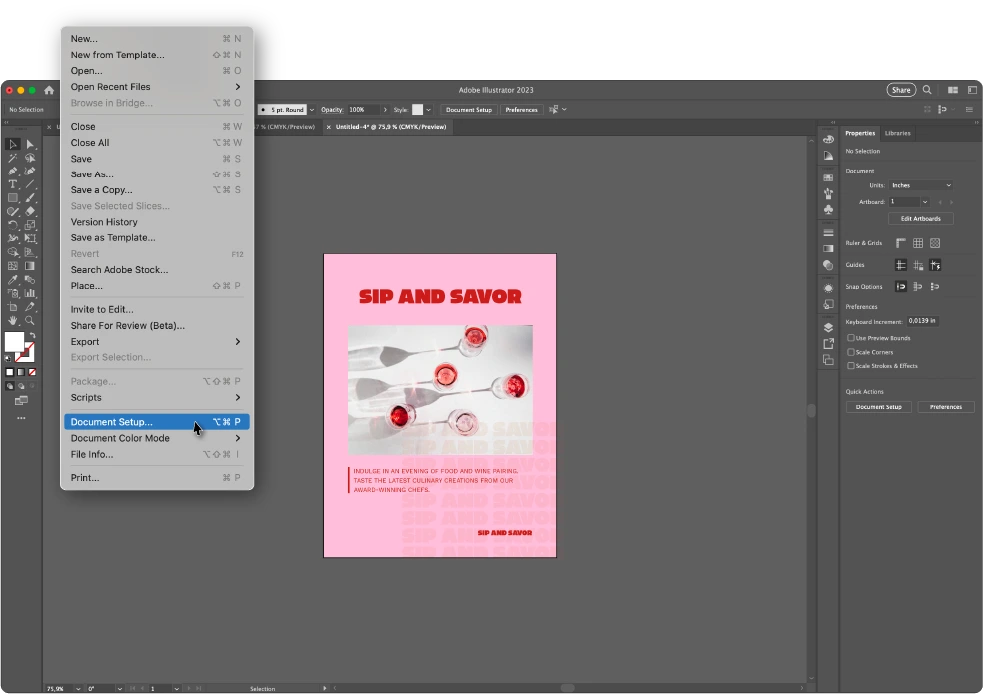
1. Choose File > Document Setup.
2. You can input bleed values in the Document Setup window.
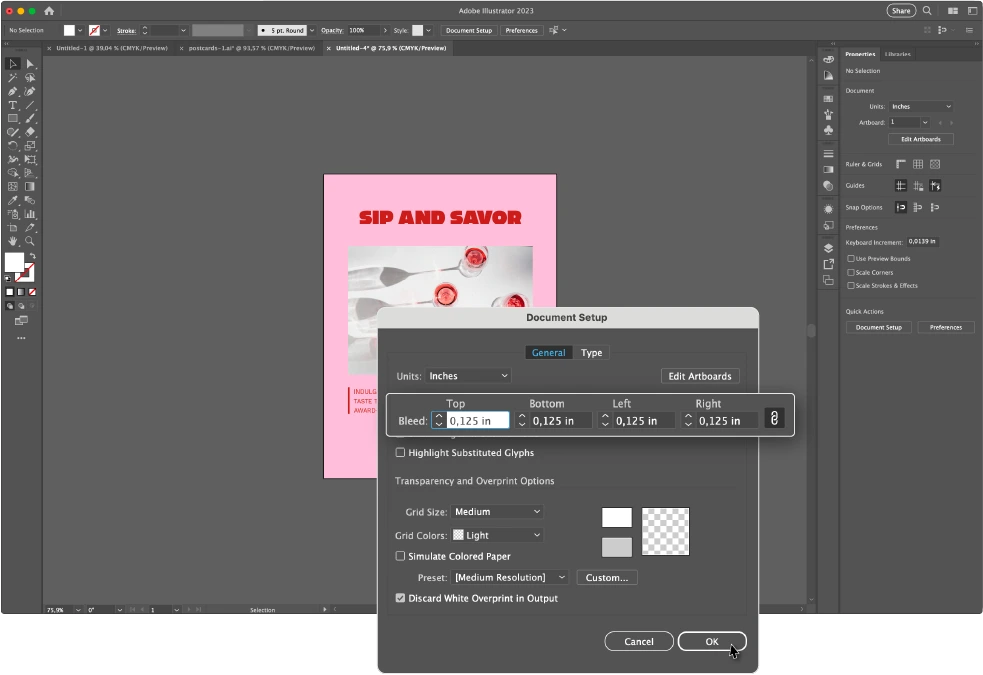
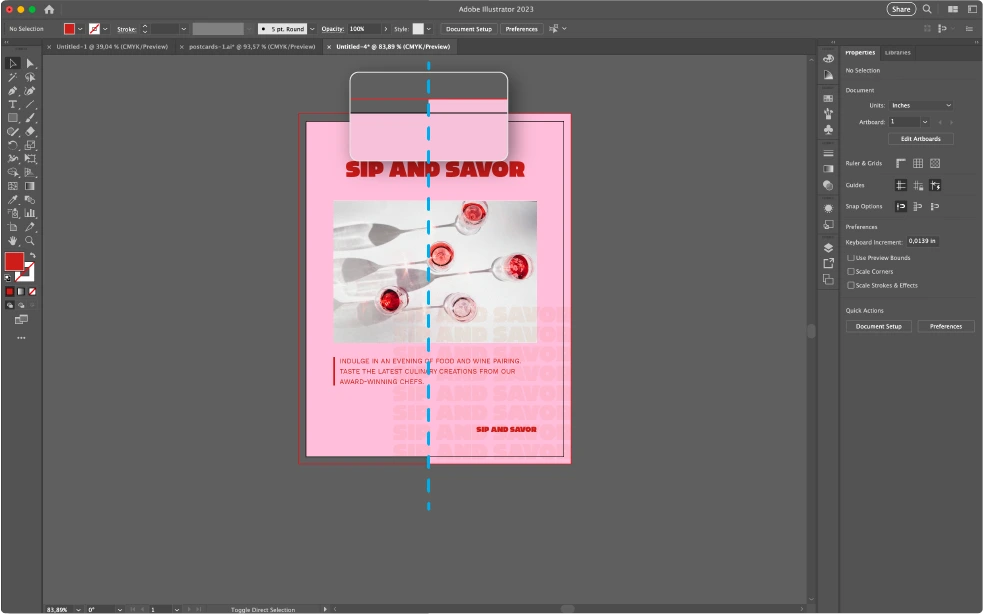
3. Click OK and your bleeds will show around the artboard. Check that the artwork extends.
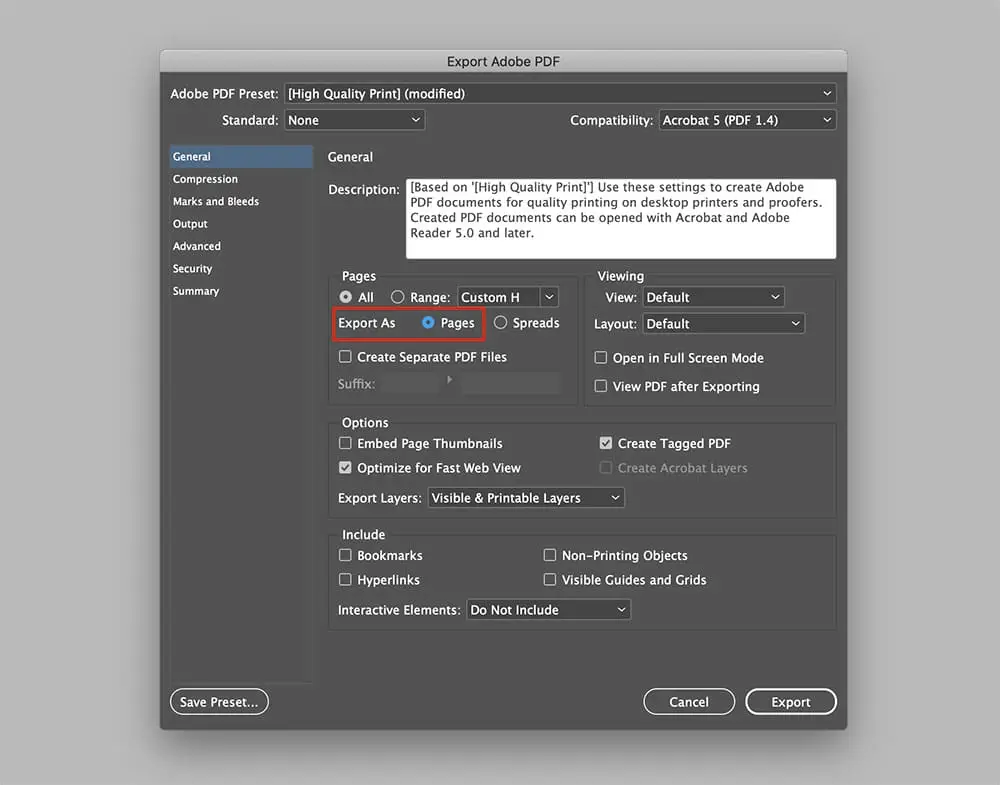
To save and print your artwork as a PDF with bleeds from Illustrator, follow these steps:
1. Choose File > Print.
2. Select Marks & Bleed on the left side of the Print dialog box.
3. Change the Adobe PDF Preset to [High Quality Print] for print resolution at 300dpi.
4. Enter values for Top, Left, Bottom, and Right to indicate the placement of the bleed marks. Click the link icon to make all the values the same.
5. Check the checkbox for Trim Marks from the top-right hand menu. Ensure you have selected the kinds of printer marks you want. Be sure to enter an Offset value greater than the Bleed value for the trim marks.
6. Select Use Document Bleed Settings to use the bleed settings shown in the New Document dialog box.

7. Click Save PDF.
How to Add Full Bleed in Photoshop
There is no way to automatically add a full bleed in Photoshop, so you will need to manually set up the full bleed when you initially set up the file.
When creating a new Photoshop document, you will need to:
1. Open the Document dialog box.
2. Choose Print from the pre-set menu. This will ensure you have print resolution at 300dpi and CMYK color mode.
3. Set your page to the desired size.
4. Create your document.
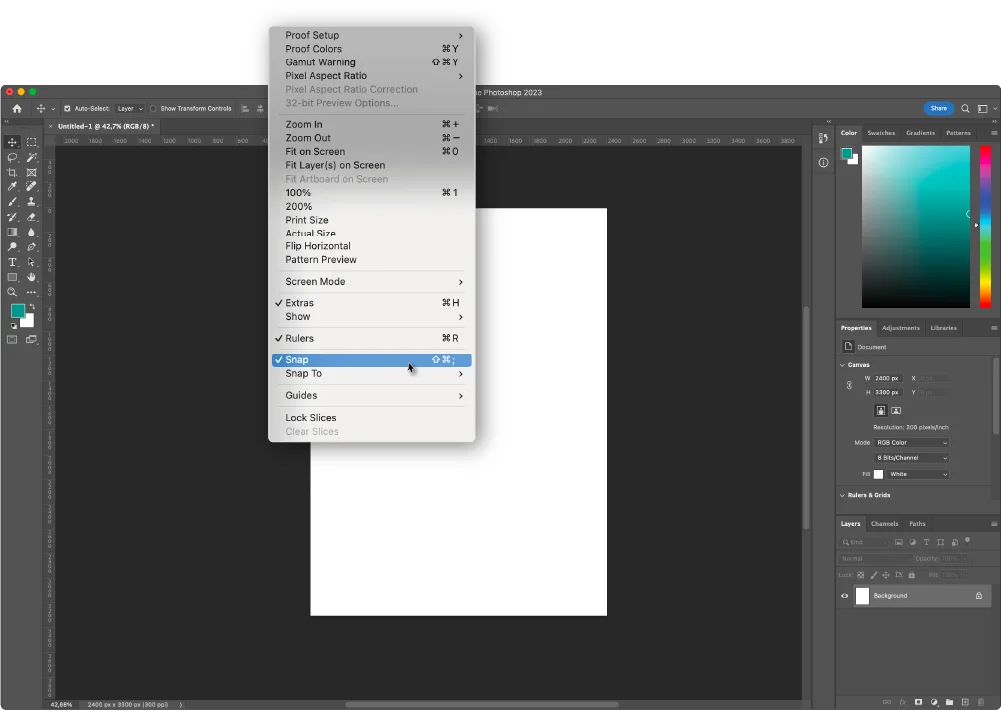
5. Select the View menu from the top of the page.
6. Enable Rulers.
7. Drag a ruler to each side of your blank page to create your bleed guides. Make sure to select Lock Guides from the View menu so that they do not move as you work on the art.
- Click Snap in the View menu to make sure the guides snap onto the edge automatically.
8. Select the Image menu from the top of the page.
9. Select Canvas size.
10. Add size or bleed to the width and height of your document. You can use 6mm or ⅛”. This will extend your document by 3mm in each direction or ⅛” on every side and the guides will show the actual print area.
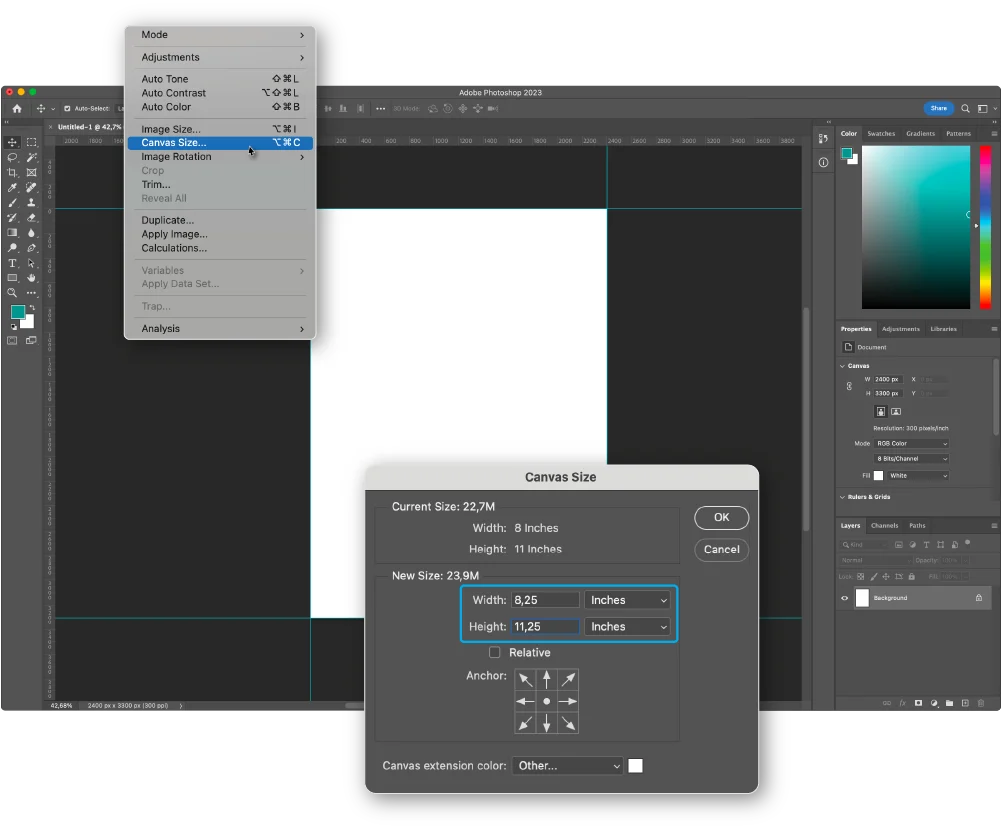
11. Make sure the anchor point is the middle of the page.
12. Press OK.
If you have already started designing and realize you need to set full bleed before sending your artwork to Thomas Group Printing, you simply need to open the document you need to edit and follow the same steps to have a full bleed in your artwork. You can increase the Canvas size for extra bleed margin too. You will need to review your artwork to see that all design elements fit within the artboard and guides prior to exporting to PDF.
To export your Photoshop document, you should:
1. Save your document as a PSD.
2. Select the File menu.
3. Click on Save As. Name your file.
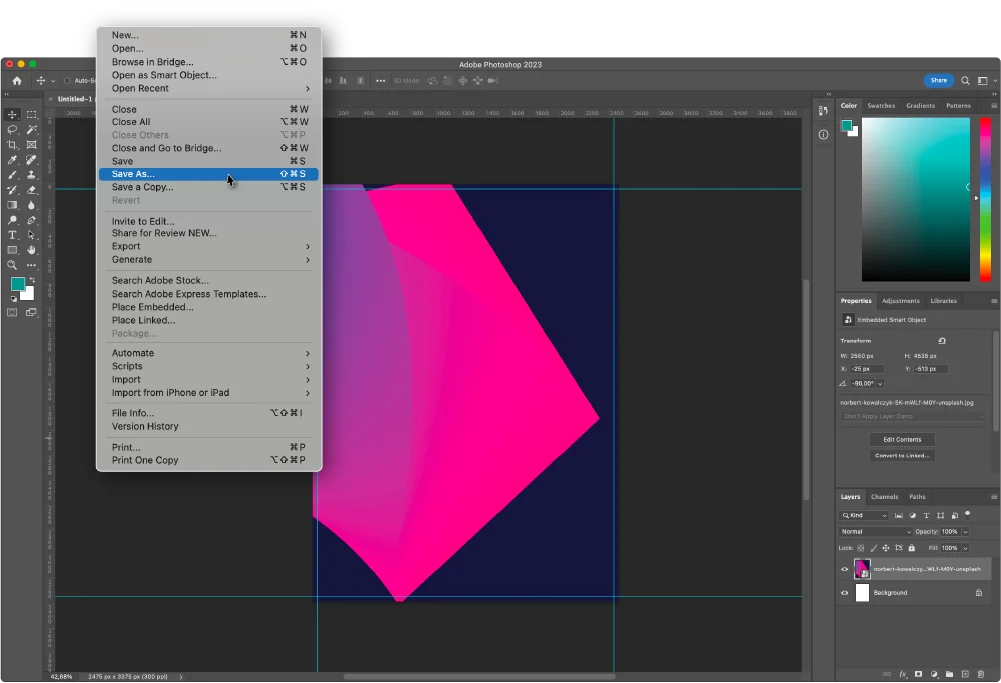
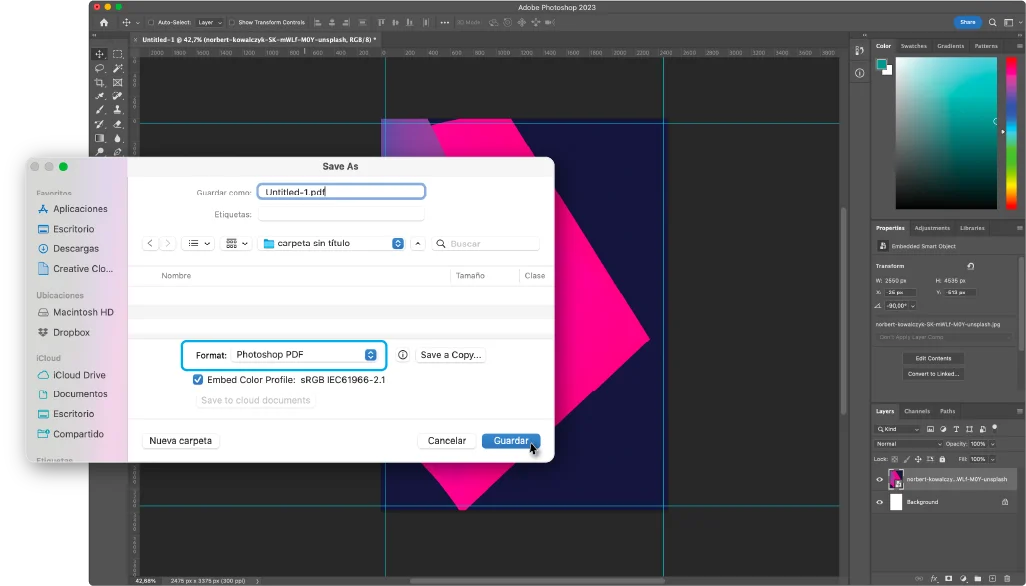
4. Select Photoshop PDF from the Save As Type dropdown.
5. Press Save. The export options dialogue box will open.
6. Uncheck Preserve Photoshop Editing Capabilities so your file is not too large.
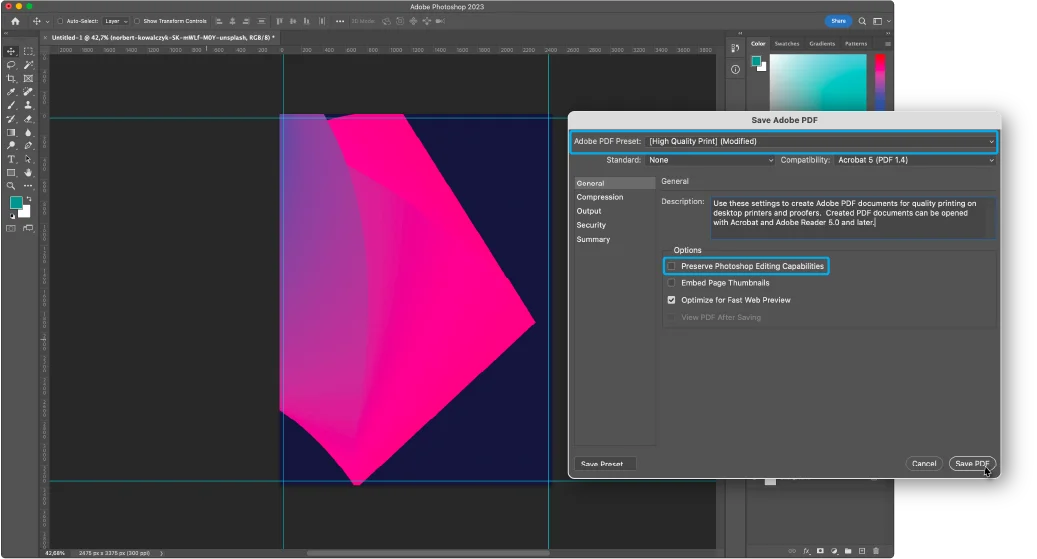
7. Press Save PDF.
Your document will include trim marks and bleed area in the PDF. Make sure that the background extends past the marks and isn’t just showing crop marks.
How to Set Up Full Bleed in Canva
To print Canva artwork to the edge, you will need to follow these instructions:
1. Create or open an existing design in Canva.
2. From the menu, select File, then View Settings.
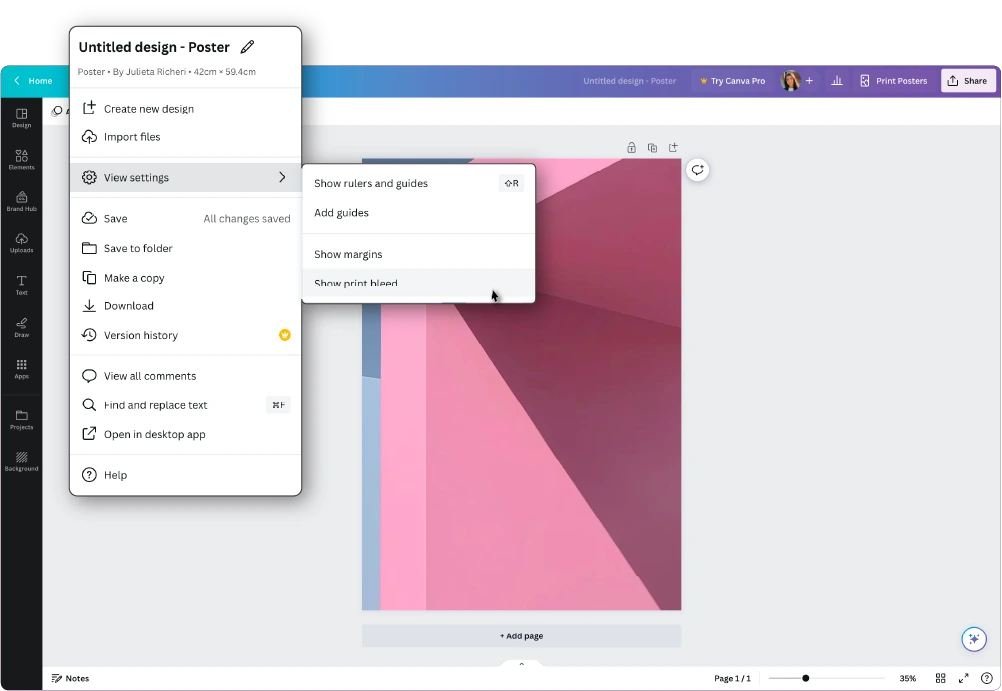
3. Select Show Print Bleed. You will see a border of dashed lines appearing on the edges of your artwork. This bleed margin is fixed and set to print production standards.
4. You will need to resize or stretch your background to cover any white edges. If there are design elements there, you can stretch them, as long as you are aware they will be cut.

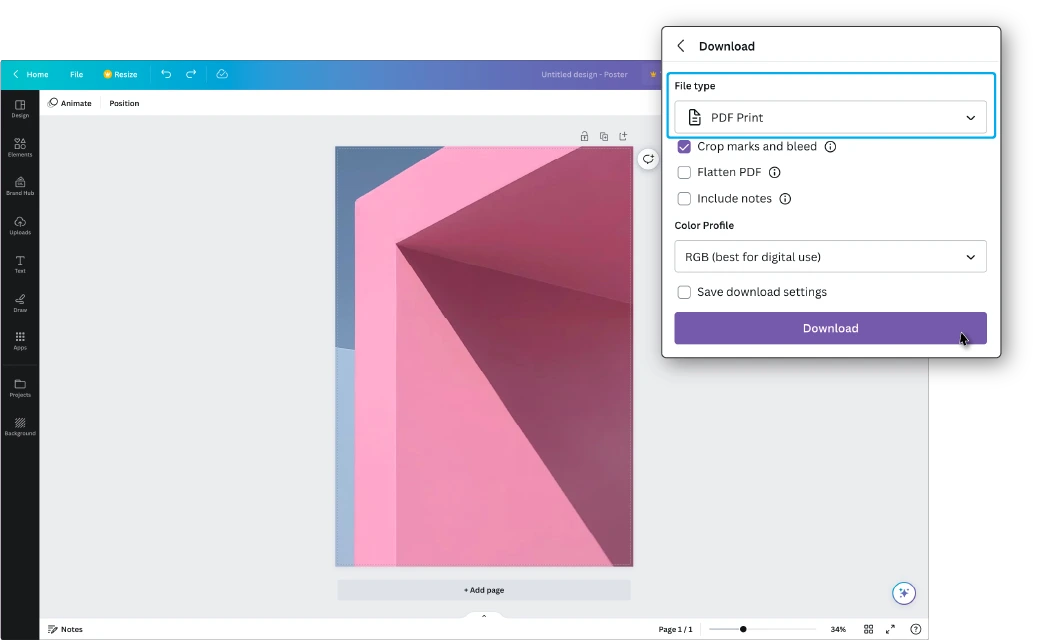
When you are exporting your Canva design, you will want to add crop marks as well as bleed to ensure the trim is set. Make sure you follow these steps to add crops:
1. After adding bleed, select Share from the menu.
2. Select Download.
3. On the File Type selection, choose PDF Print.
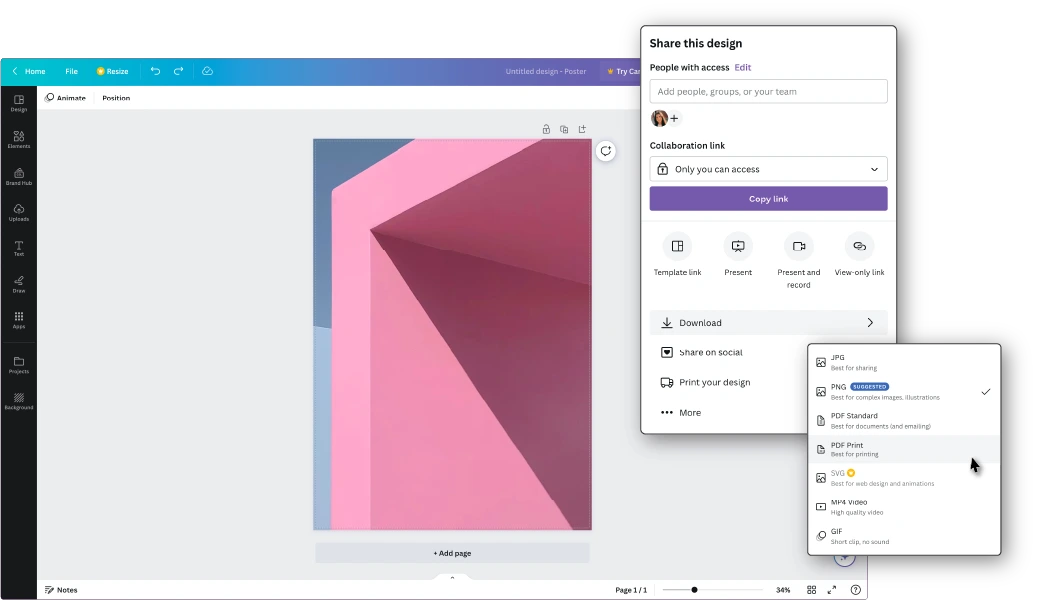
4. Check the Crop Marks and Bleed checkbox.
5. Select Download.