Why is DPI and Image Resolution Important in Print?
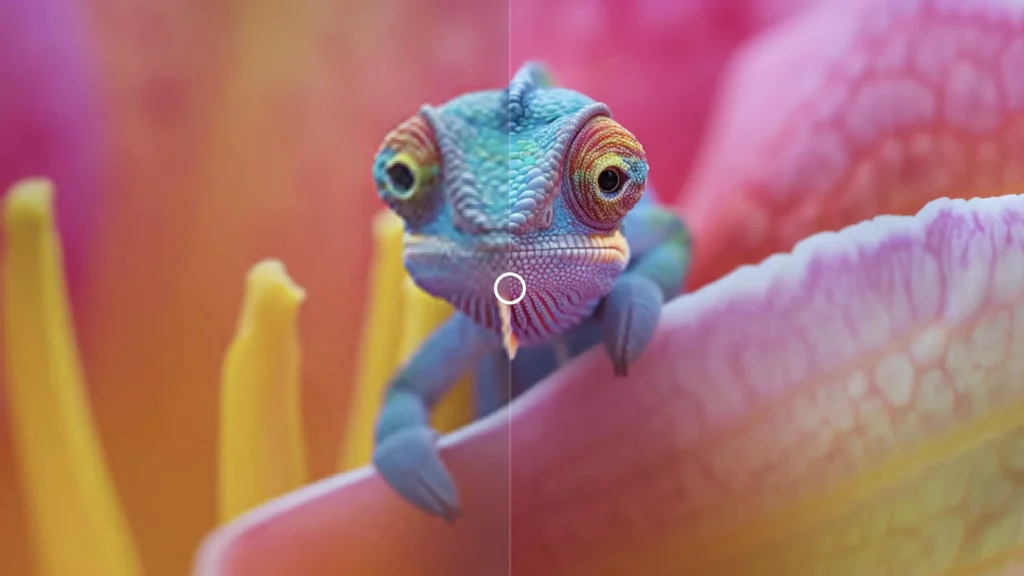
If you’re a designer or photographer, understanding what DPI is, how to check it, and change it, are all key skills you need for success. Printing a photo or raster graphic in your piece may seem as straightforward as printing anything else – but it’s not. If the image you want to use isn’t high resolution enough for print, you could end up with a delay in production to correct the issue, or worse images that print blurry or pixelated. And counterintuitively, just because an image looks good on your computer screen doesn’t guarantee it will print clearly unless its resolution is high enough, which underscores the importance of making sure the images in your file are high-res enough for print, especially if you’re printing a large run of important documents.
Understanding resolution is kind of mind bending, but rest assured, this resource will help you grasp the details and make sure the images in your document print clearly and crisply. Before we dive into the how-to section of this resource, we’ll cover some background info to help you understand what DPI is, the DPI resolution that’s needed for print and how to check or increase your image resolution in the event you’re trying to print something that includes images below print resolution.
What Is DPI?
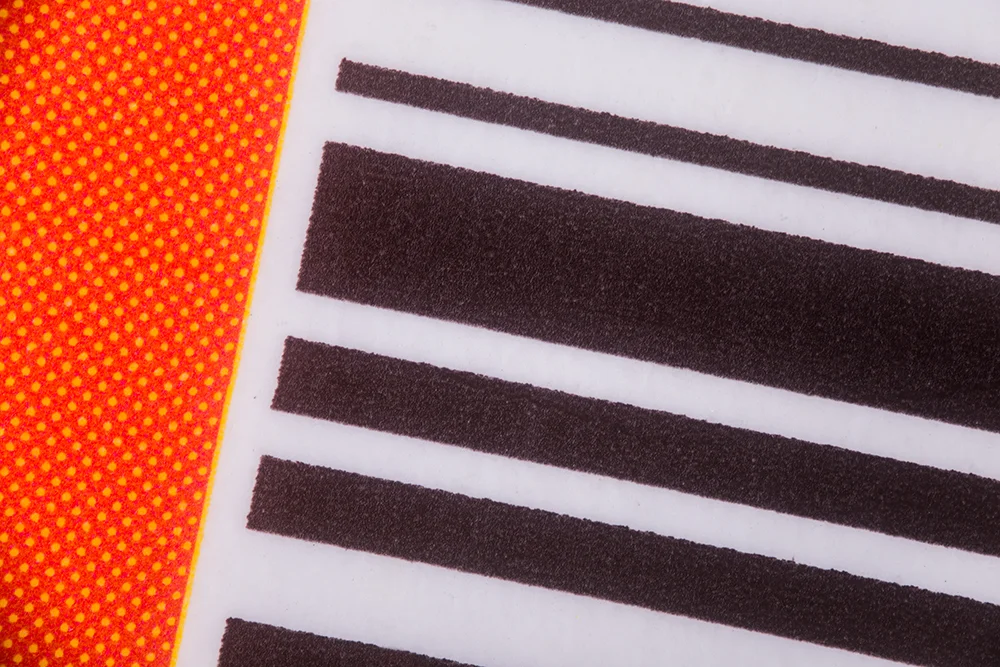
DPI stands for “dots per inch.” It’s a way to measure the resolution of a printed image, a literal count of how many individual dots of ink or toner can be printed in a linear inch.
When printing images, the DPI of your images really matters. The higher the DPI, the sharper and clearer your prints will be. This is super important when you’re creating large prints like posters because low DPI can make them look fuzzy or pixelated.
But it’s not just about big prints. Even smaller images benefit from higher DPI. They just look crisper and more detailed.
Whether you’re printing big or small, paying attention to DPI is how you can be sure your pictures come out looking their best, no matter where you’re viewing them.
What Does 300 DPI Mean?
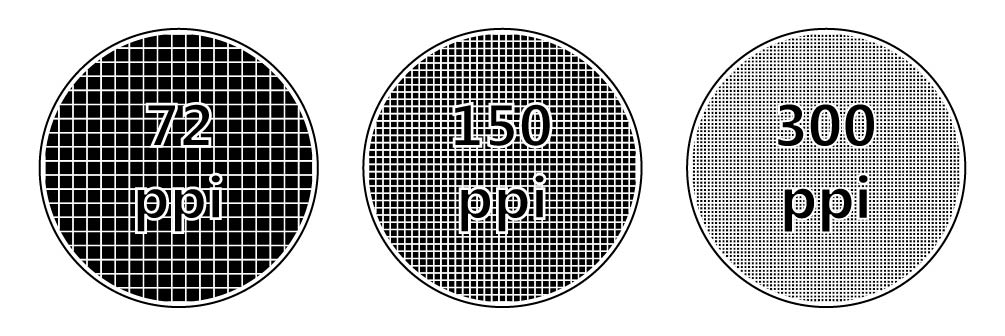
So if DPI means dots per inch, 300 DPI means there will be 300 dots of ink per inch. 300 DPI is the standard benchmark for optimal print quality. It’s considered the minimum resolution required for high-quality printing, especially for images and graphics.
An image with a resolution of 300 DPI or higher will have sharp text, preserved fine details, and will appear vibrant and true to color.
DPI also impacts your print size. Each pixel in a digital image corresponds to a dot in the print. For example, if you have an image that’s 2400 pixels wide and print it at 300 DPI, the printed image will be eight inches wide. If you print the same image at 180 DPI, it will be larger—about 13.3 inches wide.
It’s a matter of simple division: the number of pixels divided by the DPI determines the size of the print.
Understanding DPI helps ensure that your prints come out looking sharp at the right size for your needs.
Is 72 DPI High Resolution?
No, 72 DPI is not considered high resolution, especially for printing. Historically, 72 DPI has been a standard screen resolution used in early computer monitors.
For print-quality images, a resolution of 300 DPI or higher is considered high resolution. Lower DPI values, like 72 DPI, will likely print pixelated or blurry, particularly at larger sizes or when viewed up close.
Counterintuitively, since print requires a higher resolution than many screens and since images in print are often printed larger than they’re represented on your screen, an image that looks good on your screen isn’t guaranteed to look good in print if the resolution is below 300dpi.
So, how do you find out what your images’ DPI is and how can you change the DPI to ensure clear printing if it’s not high enough? Read on.
How to Check DPI of an Image
Knowing the resolution of an image is critical for printing quality. To check the DPI (dots per inch) of an image, you can use several options. If you’re just looking to check the DPI of a single image or two on saved on your computer desktop you can check in the image properties or settings:
How to Check the DPI of an Image On Windows
- Right-click on the image file and select “Properties.”
- Go to the “Details” tab.
- Look for the “Horizontal resolution” and “Vertical resolution” under the “Image” section. These numbers show the DPI of the image.
How to Check the DPI of an Image On macOS
- Open the image file in Preview.
- Click on “Tools” in the menu bar, then select “Show Inspector” (or press Command + I).
- In the Inspector window, go to the “More Info” tab.
- Look for the “Resolution” field, which displays the DPI of the image.
On the other hand, if you have many images already included in a professional design software made for print design, like Adobe InDesign, features of the product are designed to flag images that aren’t high resolution enough for print.
How to Check the DPI of an Image Using Adobe InDesign
- Select the image you want to check.
- Go to the Window menu at the top and choose Info. This will open the Info panel.
- The Info panel will display various details about the selected object, including image resolution. Look for two values:
- Actual PPI: This shows the original resolution of the image file at its native size.
- Effective PPI: This is the current resolution of the image based on its scaling within your InDesign document. This is the more important value to consider.
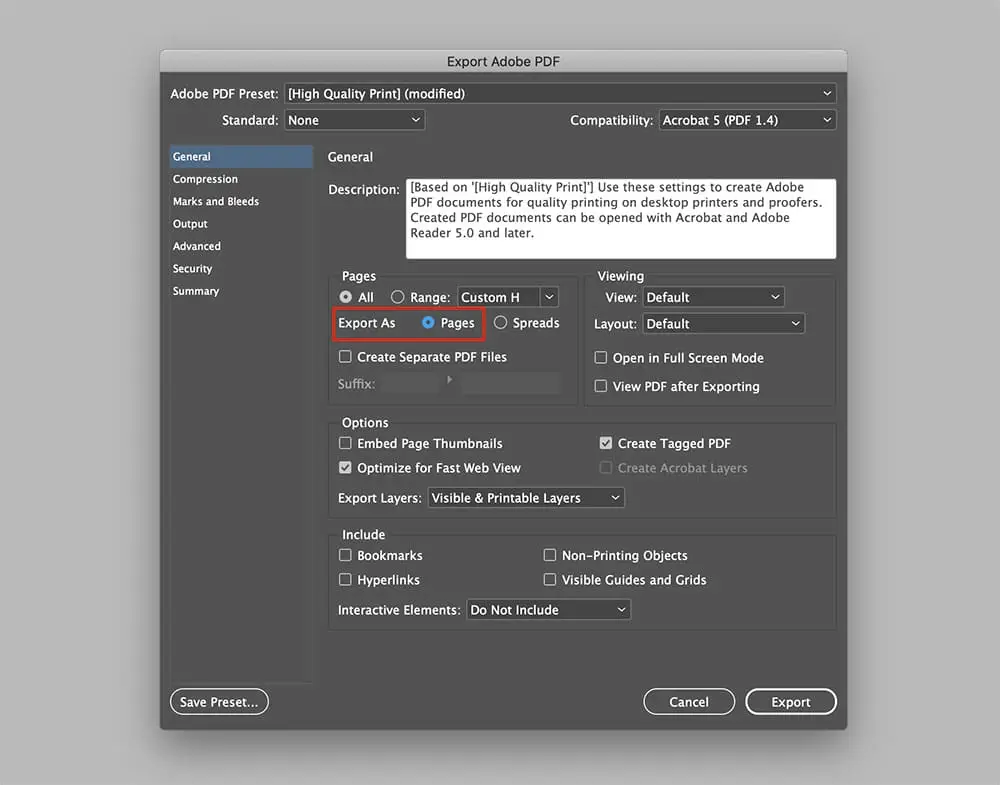
As a separate guardrail, InDesign’s Preflight workflow will flag any images with low effective resolution when you attempt to export a document for print, so if you’ve missed any images with low resolution, you’ll receive an error message and have an opportunity to correct them before exporting.
How to Check the DPI of an Image Using Adobe Photoshop
- Open the image in Adobe Photoshop.
- Go to the “Image” menu and select “Image Size.”
- In the dialog box that appears, you’ll see the resolution displayed as “Resolution” along with the units (usually pixels per inch or “ppi”).
How to Check the DPI of an Image Using Adobe Illustrator
Open the image in Adobe Illustrator.
Select the image, then go to the “Window” menu and choose “Document Info.”
In the Document Info panel, you’ll find the resolution listed as “Resolution” along with the units.
How to Check the DPI of an Image By Inspecting Metadata
Some image files contain metadata with information about the image, including resolution. You can use File Explorer or image viewer software to inspect the metadata of the image file.
What Should I Do If Images in My Document Are Low Resolution?
If your print design software has flagged images as low resolution and you want to correct them, the easiest thing to do is to find a version of the image you’re trying to use in a higher resolution to swap out the image for a higher resolution one.
Find a full resolution version of the image
If you’re trying to use images in your document that were taken by someone else and the images are low resolution, try to locate the images in their original resolution. Many email programs automatically reduce the resolution of images sent in order to reduce the size of the message so it will send faster. Sometimes getting a higher resolution image is as easy as getting your hands on the original image and having it sent over a medium that won’t reduce its size, like downloading it directly from a cloud storage solution like Google Drive or Dropbox or asking it be sent to you through a service designed specifically for sending really big files, like YouSendIt.
Use a different, higher resolution image
On the other hand, if you sourced the image yourself from somewhere online and you’re open to swapping it out for a different one, looking for an alternate image from a source which will let you download a high resolution image isn’t a bad idea. For high resolution stock images, we recommend checking free stock services like Unsplash, which offer royalty free full resolution images for download.
If you can’t get your hands on a high resolution version of your image and don’t want to swap out your image for a different one, there are other tactics you can consider to increase the DPI of the image.